Ziti Admin Console
The Ziti Administration Console (ZAC) is a web UI provided by the OpenZiti project which will allow you to configure and explore a Ziti Network.
Prerequisites
It's expected that you're using bash for these commands. If you're using Windows we strongly recommend that you install
and use Windows Subsystem for Linux (WSL). Other operating systems it's recommended you use bash unless you are able to
translate to your shell accordingly.
You will need node and npm executables from Node.js v16+.
When running Ziti Administration Console, you should also prefer using https over http. In order to do this you will need to either create, or copy the certificates needed. Each section below tries to show you how to accomplish this on your own.
Cloning From GitHub
These steps are applicable to both the local, no docker as well as the
hosted yourself deployments. Do note, these steps expect you have the necessary
environment variables established in your shell. If you used the default parameters, you can establish these variables
using the file at ${HOME}/.ziti/quickstart/$(hostname)/$(hostname).env. To deploy ZAC after following one of those guides,
you can perform the following steps.
Clone the ziti-console repo from github:
git clone https://github.com/openziti/ziti-console.git "${ZITI_HOME}/ziti-console"Install Node modules:
cd "${ZITI_HOME}/ziti-console"
npm install
Use the ziti-controller certificates for the Ziti Console:
Link a server certificate into the
ziti-consoledirectory. Your web browser won't recognize it, but it's sufficient for this exercise to have server TLS for your ZAC session.ln -s "${ZITI_PKI}/${ZITI_EDGE_CONTROLLER_HOSTNAME}-intermediate/certs/${ZITI_EDGE_CONTROLLER_HOSTNAME}-server.chain.pem" "${ZITI_HOME}/ziti-console/server.chain.pem"
ln -s "${ZITI_PKI}/${ZITI_EDGE_CONTROLLER_HOSTNAME}-intermediate/keys/${ZITI_EDGE_CONTROLLER_HOSTNAME}-server.key" "${ZITI_HOME}/ziti-console/server.key"[Optional] Emit the Ziti Console systemd file and update systemd to start the Ziti Console. If you have not sourced the Ziti helper script, you need to in order to get the necessary function.
createZacSystemdFile
sudo cp "${ZITI_HOME}/ziti-console.service" /etc/systemd/system
sudo systemctl daemon-reload
sudo systemctl enable --now ziti-console
If you do not have systemd installed or if you just wish to start ZAC you can simply issue:
node "${ZITI_HOME}/ziti-console/server.js"
Initializing TLS
TLS initialized on port: 8443
Ziti Server running on port 1408
[Optional] If using systemd - verify the Ziti Console is running by running the systemctl command
sudo systemctl status ziti-console --lines=0 --no-pager$ sudo systemctl status ziti-console --lines=0 --no-pager
● ziti-console.service - Ziti-Console
Loaded: loaded (/etc/systemd/system/ziti-console.service; disabled; vendor preset: enabled)
Active: active (running) since Wed 2021-05-19 22:04:44 UTC; 13h ago
Main PID: 13458 (node)
Tasks: 11 (limit: 1160)
Memory: 33.4M
CGroup: /system.slice/ziti-console.service
└─13458 /usr/bin/node /home/ubuntu/.ziti/quickstart/ip-172-31-22-212/ziti-console/server.js
$ sudo ss -lntp | grep node
LISTEN 0 511 *:8443 *:* users:(("node",pid=26013,fd=19))
LISTEN 0 511 *:1408 *:* users:(("node",pid=26013,fd=18))
Docker
Getting ZAC setup if you have followed the docker network quickstart
should be straightforward. If you have used the default values from this quickstart you can issue the following command.
Notice that this command uses the default path: ${HOME}/docker-volume/myFirstZitiNetwork. If you customized the path,
replace the paths specified in the volume mount sections below accordingly (the '-v' lines). Also note this command will
expose the http and https ports to your local computer. This is optional, read more about using docker for more details
if necessary.
docker run \
       --name zac \
       -p 1408:1408 \
       -p 8443:8443 \
       -v "${HOME}/docker-volume/myFirstZitiNetwork/ziti-edge-controller-intermediate/keys/ziti-edge-controller-server.key":/usr/src/app/server.key \
       -v "${HOME}/docker-volume/myFirstZitiNetwork/ziti-edge-controller-intermediate/certs/ziti-edge-controller-server.chain.pem":/usr/src/app/server.chain.pem \
       openziti/zac
Do note that if you are exposing ports as shown above, you will need to ensure that ziti-edge-controller is
addressable by your machine in order to use docker in this way. This guide does not go into how to do this in depth.
One easy, and common mechanism to do this would be to edit the 'hosts' file of your operating system. A quick
internet search should show you how to accomplish this.
Docker Compose
If you have followed the docker compose quickstart getting the ZAC running within the compose file is a bit cumbersome because the docker-compose file will generate a full PKI on your behalf. While this makes it very easy to get a basic network setup, it makes reusing that PKI in the ZAC difficult at this time. It's not difficult to reuse the PKI but you'll need to do the following:
Start the network using
docker-composeas normal.After running, copy the
ziti-edge-controllerserver certificate chain and key from the controller using these commands:docker cp docker_ziti-controller_1:/var/openziti/pki/ziti-edge-controller-intermediate/keys/ziti-edge-controller-server.key .
docker cp docker_ziti-controller_1:/var/openziti/pki/ziti-edge-controller-intermediate/certs/ziti-edge-controller-server.chain.pem .Once these files are copied out, shut down the running docker-compose
docker-compose down. Do NOT remove the volume with-v.Now add the ZAC configuration lines to the compose file of your choice:
  ziti-console:
    image: openziti/zac
    ports:
      - "1408:1408"
      - "8443:8443"
    environment:
      - ZITI_EDGE_CONTROLLER_HOSTNAME=ziti-edge-router
    volumes:
      - ziti-fs:/openziti
      - type: bind
        source: ./ziti-edge-controller-server.key
        target: /usr/src/app/server.key
      - type: bind
        source: ./ziti-edge-controller-server.chain.pem
        target: /usr/src/app/server.chain.pem

    networks:
      - zitiblue
      - zitired
After adding the ZAC configuration as shown,
docker-composewill now start and expose the ZAC ports on 1408/8443.
Do note that if you are exposing ports as shown above, you will need to ensure that ziti-edge-controller is
addressable by your machine in order to use docker in this way. This guide does not go into how to do this in depth.
One easy, and common mechanism to do this would be to edit the 'hosts' file of your operating system. A quick
internet search should show you how to accomplish this.
Kubernetes
There's a Helm chart for deploying the Ziti console in Kubernetes.
Login and use ZAC
At this point you should be able to navigate to both:
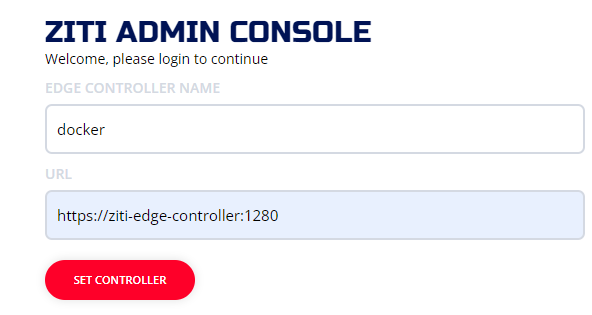
https://${ZITI_EDGE_CONTROLLER_HOSTNAME}:8443and see the ZAC login screen. (The TLS warnings your browser will show you are normal - it's because these steps use a self-signed certificate generated in the install process)noteIf you are using docker-compose to start your network, when you access ZAC for the first time you will need to specify the url of the controller. Since everything is running in docker compose this url is relative to the internal docker compose network that is declared in the compose file. You would enter
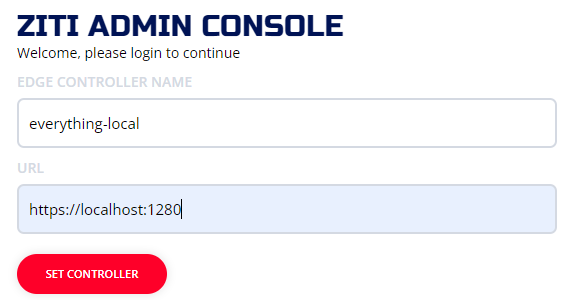
https://ziti-edge-controller:1280as the controller's URLSet the controller as shown (use the correct URL):
Example using the "everything local" quickstart:
Example using the "docker-compose" quickstart:
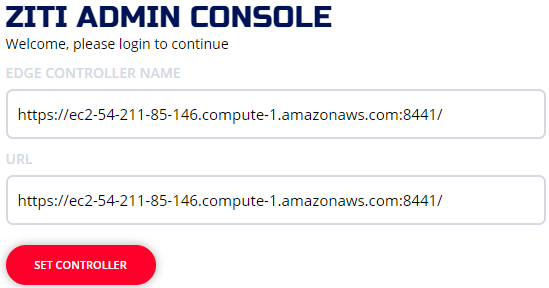
Example using AWS "host it anywhere":
Optionally, change admin's password